SEARCH
Enter keywords, product name, or question
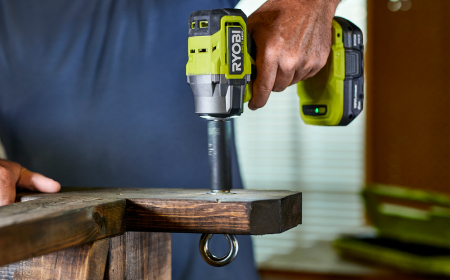
Drill driver troubleshooting checklist
1. Battery charge
- Check the battery level. It’s normal for performance to drop slightly as the charge decreases.
- If the battery is low, the tool may stop under load. Recharge or replace the battery as needed.
2. Drill settings
- Ensure the drill is set to the correct mode (drill or drive).
- Verify the speed setting—gear 1 provides more torque.
- Confirm the direction selector is set to forward, not reverse.
- Make sure the adjustable clutch is set to drill mode, typically indicated by a drill bit icon.
- For more details, refer to: What are the settings for on my Ryobi drill driver?
3. Accessories
- Use the correct drill bit for the material.
- Ensure the bit is sharp and in good condition.
- Confirm the bit is securely tightened in the chuck.
4. Overheating
- The tool may cut out or lose power if used beyond its rated capacity or under excessive load.
- Refer to the product manual or Ryobi website for specific capacity ratings.
If the tool cuts out:
- Remove it from the workpiece.
- Check the battery level and test the tool under no load.
- If it operates, resume use at a slower speed or with less force.
- If it doesn’t operate, remove the battery and allow both tool and battery to cool for 30 minutes before retrying.
5. Dust & debris
- Inspect the drill for dust build-up.
- Clean using a dry paintbrush, blower, or rag.
- Avoid using cleaning sprays or solvents, as moisture may damage internal components.
6. Chuck & bit fitment
- Ensure the drill bit is seated tightly in the chuck.
- Check for any movement or slippage after tightening.
7. Usage technique
- Avoid applying excessive speed or force.
- Reduce load if the tool struggles or stalls.
Warranty support
If the issue persists and your tool is still within the warranty period, return it to Bunnings with your receipt or proof of purchase for a warranty assessment.
R18PD7-0, R18DDBL-0, R18PDBL-0, R18PD3-H155S, R18CPD14, R18DD12, R18PD3-H40G, R18ID14, R18DDHE12, R18PD2422B, RDD18C, RPD18C, RPD18X, R18DDP2-H20G, R18DD3-0, R18CK2-H4P, R18XPD14, R18XPD142B