1. Check Power Supply
- Ensure the outlet provides 220–240 V, 50 Hz AC.
- Try a different outlet to rule out socket issues.
- Confirm the charger plug is securely connected.
2. Inspect the Charger
- Unplug the charger
- Look for visible damage to the charger, cord, or plug.
- If damaged, do not use
3. Insert a Compatible Battery
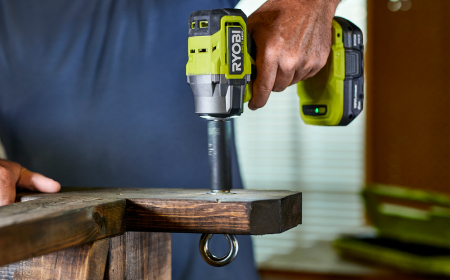
- Use only RYOBI 18V ONE+ Lithium-Ion batteries listed in the manual.
- Insert the battery fully into the battery port until it clicks.
4. Observe LED Indicators
|
Red LED |
Green LED |
Status |
Action |
|
Off |
Off |
No power or charger fault |
Check power source and charger |
|
On |
Off |
Ready to charge |
Insert battery |
|
Flashing |
Off |
Battery too hot/cold or deeply discharged |
Wait for battery to reach safe temperature/voltage |
|
Flashing |
Flashing |
Defective battery or charger |
Try another battery or contact service centre |
|
Off |
Flashing |
Charging |
Wait until fully charged |
|
Off |
On |
Fully charged |
Remove battery |
5. Battery Temperature
- If the battery is hot or cold, charging will pause.
- Let the battery cool or warm to room temperature (10°C–37°C).
Note: This can be done in the charger
6. Try a Different Battery
- If no lights appear or both LEDs flash:
* Remove and reinsert the battery.
* Try charging a different compatible battery. If the second battery works, the first may be defective.
8. Defective Charger
- If both batteries show no lights or both LEDs flash then the charger may be defective.
Contact Ryobi Customer support for further assistance, or if the charger is within warranty, visit your local Bunnings with proof of purchase for assessment.
RC18180, RC18240, RC18120, RC18640, BCL1418IV, RC18150U, R18USB-0, RC43P, R36CHR3P, R36CHADP60, BCL3660F